Showing posts with label N scale. Show all posts

Sunday, October 25, 2015

Gorre & Daphetid diorama in N Scale, Pt 1

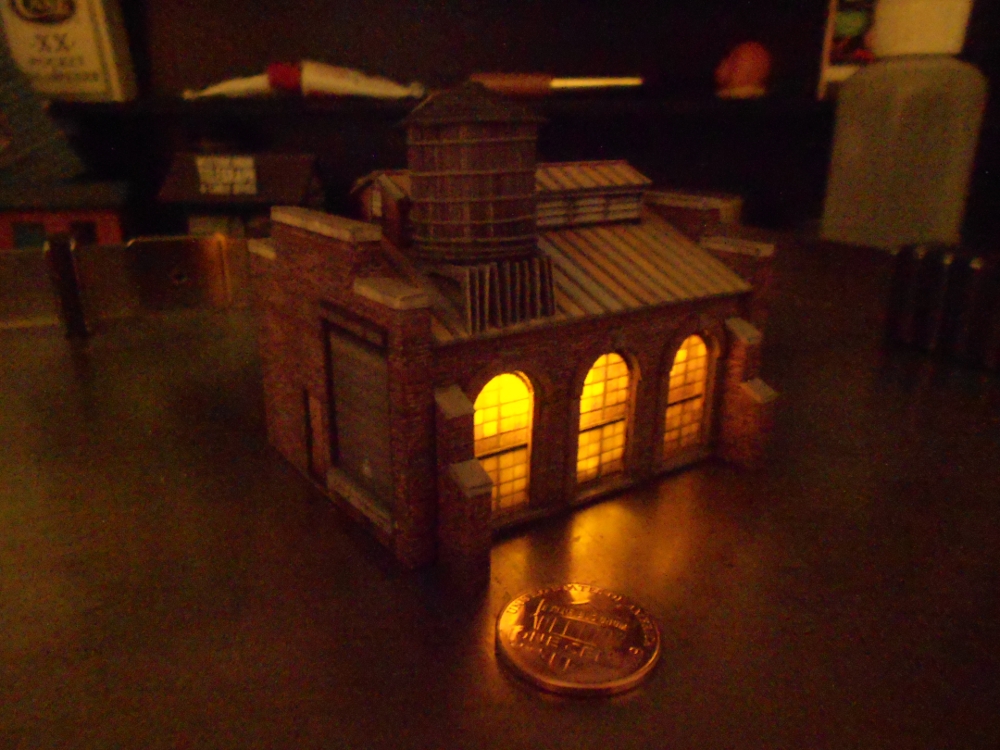
I just started working on a diorama based on the Cross Junction / Corsa area of John Allen's Gorre & Daphetid railroad. I bought the plans from Silver Ridge Modelworks. It's available as either an HO-scale laser-cut kit, or you can just purchase the instructions and the templates, and build it yourself from scratch in whatever scale you want. My plan is to take the templates and apply Clever Models textures with The GIMP to make an N scale version of the depot, and install it in a diorama which is similar to the original G&D scene.

Here is the diorama suggested by Silver Ridge...


...and here is how the station looked in the original G&D setting.


You can see that Allen had a tunnel perpendicular and under the upper track. I decided to put that in.

I threw together a quick, corrugated and chipboard dummy in three dimensions to see what the proportions might look like. This gives me some planning flexibility, because I can move the station around, and I'll have an idea what works and what doesn't.

This is what it looked like after a couple hours.


I converted the measurements for the diorama down to N from the Silver Ridge plans, but when I got to the station, I used no measurements at all -- I just hacked away at the chipboard and slathered the edges with Aleene's Tacky Glue. If someting was too big, I chopped it off. If it was too small, I tore it off and made a bigger piece. It's a bit like sketching with a pencil and erasing whatever looks wrong. It's a lot of fun, and the whole process only took a couple hours. Possibly 90 minutes. I'm having trouble estimating the time spent, because I was "in the zone" the whole time.

The following evening, I threw together a very rough cityscape, similar to the G&D original, but a little more urban. I'll use forced perspective to fit that skyline in the very limited space, and the buildings in the front may need to be a little smaller than N scale.


Overhead shot.

I can already see I'll have to lower the skyline about 1/2 to 3/4 of an inch, because I don't like the proportions. Also, I'll modify that cross street so the back of it is hidden a bit better.

The upper deck of this should have a streetcar, while the lower station will provide passenger and freight service.

Friday, August 28, 2015

Don's Radio Shop in N Scale


I started a couple days ago, after I finished the Gorre engine house.

The rusting green sign under the MERTZ ad is for Nesbitt's Lime Soda, another Negativland joke that doesn't have much to do with Don, but what the heck. I liked it better than putting a damn Pepsi logo on my model. I like making fictional signs, and Nesbitt's has never actually made a lime soda. I altered the colors of a Nesbitt's Orange sign.

The red and yellow "Don's Radio Shop" sign and metal supports turned out nicely.

I realized this model is small enough to fit in a very inexpensive display case designed to hold baseballs.

Sunday, August 23, 2015

Tuesday, August 18, 2015

Gorre Engine House Pt. V: Rafters

I finished the five center rafters on Clever Models' Gorre engine house. Each of these subassemblies consists of 11 pieces. Two more to go -- with 16 parts each -- for either end of the building. 


Believe it or not, this actually hurt my back a little. I assembled these on the kitchen table, which is lower than my work table, so I was hunched over for quite a while.

Sunday, August 9, 2015

Gorre Engine House, Pt. IV, Clerestory

Assembled the clerestory of the Clever Models' Gorre engine house today. Built the interior and exterior. Rather than print an entire sheet of expensive transparency film just to get eight tiny windows, I turned some leftover windows from the rest of the building sideways, and they fit nicely.


Tuesday, July 21, 2015

Gorre Engine House in N Scale, Part II

7/20/15

Only had a couple brief moments today to work on this: in the morning as my wife fixed breakfast, and again this afternoon after I'd done the grocery shopping. Managed to cut holes for the windows along the back wall and install the windows, and to make and install six more window frames (without the transparencies) for the interior. Pics to follow.

7/21/15

Had a little over an hour in the morning. Treated some trim pieces with CA glue, laminated and cut openings in one entrance, added the round and rectangular windows, then dry-fitted what I had so far.


NOTE TO THOM: slight correction needed -- the door on the wall with the round window needs to have the trim added around the rectangular window and the door frame. If I cut out the white areas as printed, the holes would be the size of the door and window frames, rather than the size of the door and window. My window sub-assembly nearly fell through the hole.

Sunday, July 19, 2015

Clever Models Gorre Engine House in N Scale, Day 1

Spent most of the day working on these windows for the Clever Models Gorre Engine House. I still need to make the interior trim (because this is a building you can see into) and the skylights. I decided to work on windows first, because I was experimenting, and I wasn't sure how they would turn out -- I didn't want to be nearly finished with the building and have no way to make decent windows.

Penny for scale.

The mullions are inkjet printed on transparency film, while the trim is cardstock which I soaked in cyanoacrylate before cutting. This made it easier to avoid overcutting because the cardstock is a little tougher and more like plastic. 

While the building would look better with several windows open, I decided that one was enough, because it was really difficult to do. 

My new Glue Looper tools proved very useful today. They're little doodads that fit in an X-Acto handle and give you a tiny metal loop you can use to transfer CA glue to tiny spots. I clamped the transparencies to the frames with wee clothespins, dipped the Glue Looper into a drop of CA, gently touched the edge of the transparency -- and just the right amount of glue seeped between the parts through capillary action. Slick!

I stopped shortly after taking this photo because the CA was misbehaving as I soaked window frames, and it began dripping onto my workspace. It was just a matter of time before I glued my fingers together, which, surprisingly, I didn't do all afternoon. Thank you, Glue Looper!

Tuesday, July 14, 2015

Gorre & Daphetid's #13 Engine, "Emma the Organic Switcher" in N Scale

Fooling around with N scale stuff, and I'm about to begin building Clever Model's version of John Allen's famous engine house at Gorre, when it dawned on me that I'd need Allen's "Organic Switcher" #13, Emma the stegosaurus. Couldn't find a toy dinosaur in the appropriate size, so I made one from Sculpey.

 Here she is standing on a penny.


Aluminium foil armature, painted with acrylics, gold ink for the number 13, coated with MicroScale satin to give it that 1960s plastic dinosaur look. She's not an exact match, but close enough.

Here's the prototype...

She's hiding on a hillside in this shot, 
just under the NMRA Bulletin masthead.

Now I have to make a harness.

Tuesday, May 12, 2015

N Scale Lighthouse build, continued

Finished the roof this morning. The gable isn't a great fit, but the flaws are under the soffit... so, "F" it.


I put the coin battery into the underside of the carved pink foam base. For the moment, this works pretty well -- the foam presses the wires from the LED into the battery nicely. In the long term, I'll be able to pull the leads down and work them into layout wiring.

Next: painting and landscaping the pink foam.

Sunday, May 10, 2015

NTRAK Irregular, Rambling & Never-Get-There Ideas

I'm just fooling around with ideas for an Irregular, Rambling & Never-Get-There layout consisting of four NTRAK modules. Took some screenshots from Google Maps and very roughly laid it out.
I'd build Ilwaco first as a 4' x 4' corner unit. Ilwaco would include Cape Disappointment, which is actually several miles away, but Ilwaco has a similar cape which protects its harbor, so I'd just take a liberty and use that.

The next 4' wide unit to the north would be Long Beach/Sea View. I'd use a deeper NTRAK module here so I could include the beach, and I'd add one of the shipwrecks for which the Washington coast was notorious.

The Northernmost module would be Oysterville/Ocean Park/Loomis. The Loomis mansion would be to the South, in the center on the far side of the tracks. A beached whale would be somewhere between Oysterville and Ocean Park.

If I decided to expand Eastward (as the line did in later years) I could add another 4' module of Chinook/Fort Columbia. There is a tunnel under Ft. Columbia -- I'm not sure if that's kosher by NTRAK rules.

This is just an idle fantasy at the moment, as I really don't even have room for the Ilwaco module in my apartment.

Saturday, May 9, 2015

N Scale Cape Disappointment Lighthouse

My interest in the Ilwaco Railway & Navagation Company led me to building the lighthouse at Cape Disappointment. It shares with the railroad similar stories of North Coast incompetence: the tower was built first, but when the lamp lenses arrived, they were too big. It took two years for the tower to be rebuilt to fit the lenses. However, when the lighthouse was finally completed, it couldn't be seen by ships approaching from the North, and a second lighthouse was erected two miles away at North Head.

Oh, and the fog bell couldn't be heard over the rain and surf. Apart from that, Mrs. Lincoln...


I started out with a downloaded kit from Fiddler's Green ($4.95). FG models are often a decent starting point -- most of the geometries are already figured out for me, and I can usually modify what's there to make it more accurate... or more to my liking, anyway.

My first step was to alter the textures a bit. I opened the files in The Gimp, then used some roof tiles from Clever Models and surface textures from Dave Graffam Models, and overlaid them on the appropriate parts to replace the the cartoon-y colors of the FG kit. Then I reduced all the parts down to N scale and printed them on matte photo cardstock.

There are a few inaccuracies on the FG model. The cone shape goes through the lower walkway and all the way up to the bottom of the upper walkway, while on the real tower, the lamp house continues down through both walkways. I chopped off the top of the tower and fabricated a new lower lamp house from black cardstock. Also, the FG roof is roughly the shape of a Chinese sun hat, while the actual roof is more of a dome.

I built the lamp house first and worked my way down. I knew from the start I wanted to have a light in this, so I poked two pinholes into the center of the upper walkway and inserted an amber LED. By coincidence, a typical LED is about the same size, in N scale, as a lighthouse lamp. Soldering the leads to wires was tricky because the paper bits were so close, but it worked out okay. I added some heat-shrink tubing to prevent the leads from short-circuiting.

I still have the smaller work room and mud room to finish, but that's really straight-ahead model building.

Friday, January 16, 2015

Stereoscopic N Scale Hotel Railing

Just started experimenting with toughening up paper using thin cyanoacrylate. This allows me to cut very, very fine detailed parts without the cardstock delaminating. Here's a balcony railing from an Old-West type building.

I came up with a technique for curing the the cyanoacrylate quickly. I hold the uncut piece in one of the clamps of my Helping Hands tool, and apply the thin super glue along the back of the paper, so it wicks in. Then, because the catalyst that makes cyanoacrylate set is moisture, I just put a steaming cup of water under the piece, and let the rising vapors do the work. 30 seconds or so, and it's ready.

 If I don't do this, I've found myself looking at the piece stuck to my finger.

Monday, January 12, 2015

Clever Models Small Machine Shop in N Scale -- COMPLETED!

I'm pleased with how nicely this building from Clever Models turned out. The supports for the water tank are a little wonky, but not too bad.


Here it is with a Dollar Store tea light LED in it. The flicker makes it look as if someone is using a forge or welding.