Friday, August 28, 2015
Don's Radio Shop in N Scale
I started a couple days ago, after I finished the Gorre engine house.
The rusting green sign under the MERTZ ad is for Nesbitt's Lime Soda, another Negativland joke that doesn't have much to do with Don, but what the heck. I liked it better than putting a damn Pepsi logo on my model. I like making fictional signs, and Nesbitt's has never actually made a lime soda. I altered the colors of a Nesbitt's Orange sign.
The red and yellow "Don's Radio Shop" sign and metal supports turned out nicely.
I realized this model is small enough to fit in a very inexpensive display case designed to hold baseballs.
Sunday, August 23, 2015
Gorre Engine House, Pt. VI: Assembly
FINISHED!
There are a couple minor things nobody except me would notice, which I'll fix later, but overall, it turned out very nicely.
Labels:
1/160,
architectural model,
card model,
cardstock,
cardstock model,
Clever Models,
details,
engine house,
Gorre & Daphetid,
John Allen,
miniature,
model,
model railroad,
N scale,
papercraft,
subassembly
Friday, August 21, 2015
Tuesday, August 18, 2015
Gorre Engine House Pt. V: Rafters
I finished the five center rafters on Clever Models' Gorre engine house. Each of these subassemblies consists of 11 pieces. Two more to go -- with 16 parts each -- for either end of the building.
Believe it or not, this actually hurt my back a little. I assembled these on the kitchen table, which is lower than my work table, so I was hunched over for quite a while.
Monday, August 17, 2015
Stay Puft Ghost Sign
I saw the original Ghostbusters a couple days ago, and noticed a very subtle joke for the first time. In an nearly subliminal bit of foreshadowing, one of the shots shows a faded Stay Puft Marshmallow ad painted on the side of a building.
I needed a break from the Gorre engine house, so I threw together a similar sign in The Gimp.
I went for a 1950s look, because I figured that was when Ray Stantz grew up. The sign in the movie looks a bit more 1930s, with a fatter version of Mr. Stay Puft. The slogan, "Stay Puft, Even When Toasted!" was apparently part of the original script, but it was cut out, and only appears in the film on the matte painting.
I'm tucking this away for future use.
It's the second building on the left in the foreground.
I needed a break from the Gorre engine house, so I threw together a similar sign in The Gimp.
I went for a 1950s look, because I figured that was when Ray Stantz grew up. The sign in the movie looks a bit more 1930s, with a fatter version of Mr. Stay Puft. The slogan, "Stay Puft, Even When Toasted!" was apparently part of the original script, but it was cut out, and only appears in the film on the matte painting.
I'm tucking this away for future use.
Sunday, August 9, 2015
Gorre Engine House, Pt. IV, Clerestory
Assembled the clerestory of the Clever Models' Gorre engine house today. Built the interior and exterior. Rather than print an entire sheet of expensive transparency film just to get eight tiny windows, I turned some leftover windows from the rest of the building sideways, and they fit nicely.
Labels:
1/160,
Clestory,
Gorre & Daphetid,
John Allen,
N scale,
roof,
rulers,
windows
Wednesday, August 5, 2015
Gorre Engine House, Pt. III, Shingles
In N scale, shingles are a royal pain, particularly when you're modelling in cardstock. It's not just that you have to make hundreds and hundreds of tiny cuts, the problem is the white edges of those cuts are nearly impossible to darken with a marker or paintbrush.
Looking around the workspace, my eyes lit on a brown paper bag. PERFECT! I took my paper cutter and sliced one side of the bag down to 8.5" x 11", put it in the printer, and got a page of shingles that looks like wood through and through!
I've finished one side. When I got done, I used my tweezers to lift randomly chosen shingles here and there, hither and yon, higgledy-piggledy, to give the roof texture.
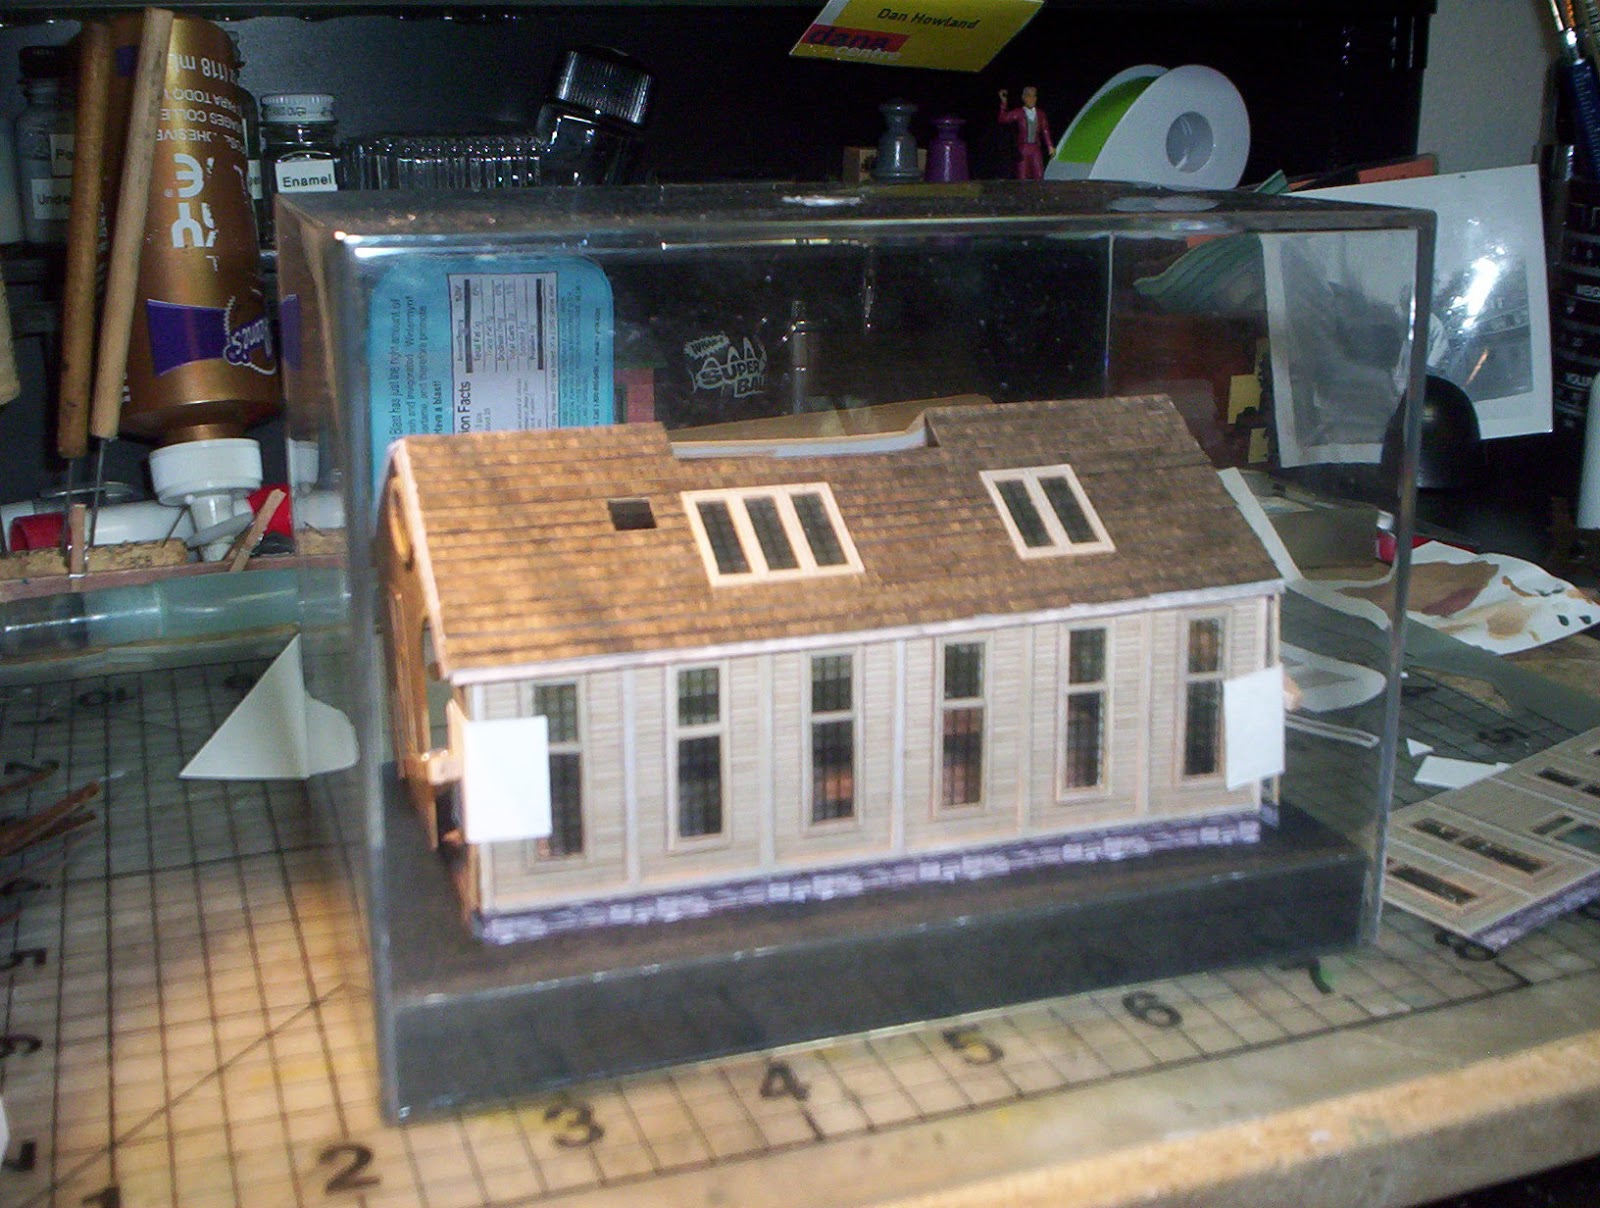
That clear plastic case, by the way, was thrown away by a vendor at an event where I was temping. It just happens to be the perfect size for this project. Score!
Looking around the workspace, my eyes lit on a brown paper bag. PERFECT! I took my paper cutter and sliced one side of the bag down to 8.5" x 11", put it in the printer, and got a page of shingles that looks like wood through and through!
I've finished one side. When I got done, I used my tweezers to lift randomly chosen shingles here and there, hither and yon, higgledy-piggledy, to give the roof texture.
That clear plastic case, by the way, was thrown away by a vendor at an event where I was temping. It just happens to be the perfect size for this project. Score!
Subscribe to:
Posts (Atom)